Veggie Spiralizer
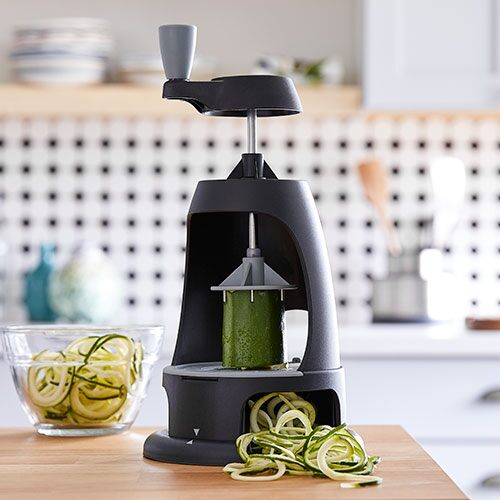
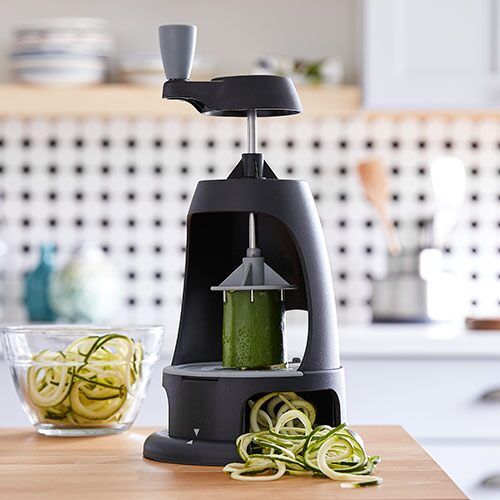
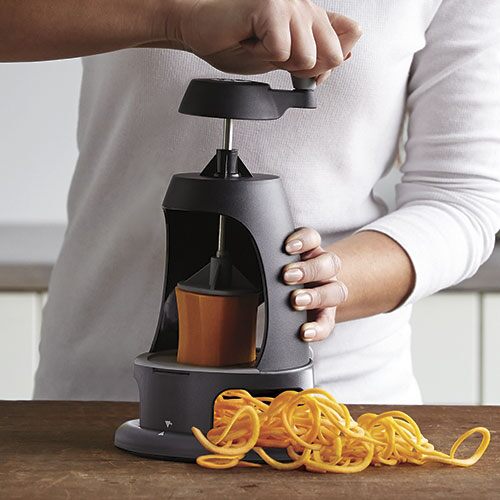
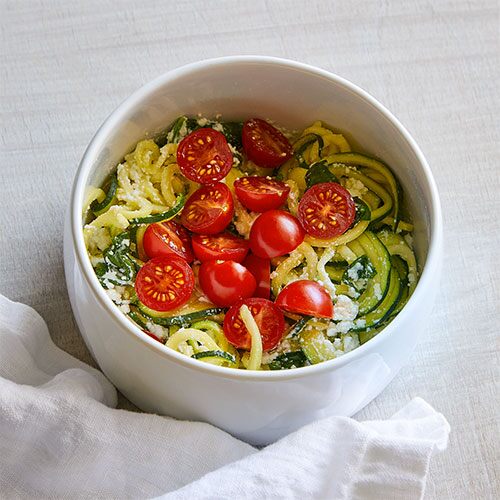
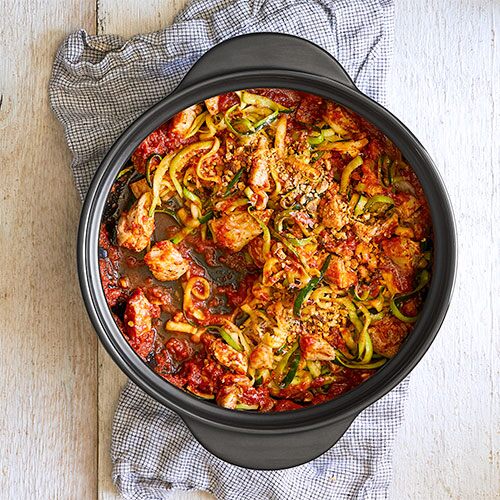
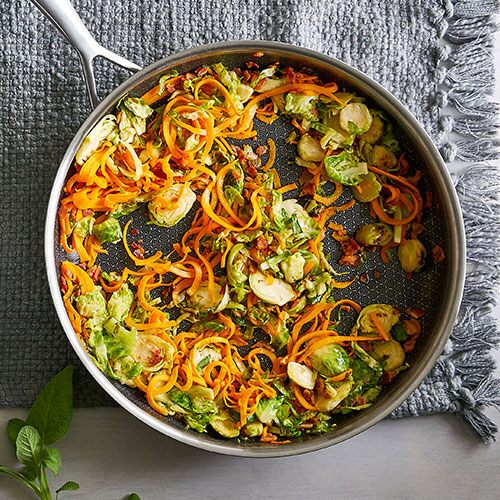
The Veggie Spiralizer quickly makes fun, flavorful fruit and veggie “noodles” you can turn into healthy, satisfying meals. The improved handle makes it easier to spiralize food, a repositioned chute keeps “noodles” from breaking, and the redesigned comb handle makes it easy to change blades. Make cucumber ribbons for a salad, sweet potato spaghetti, butternut squash fettuccine…there are endless options!
Get a free ebook with tips, tricks, recipes, and more.
Details
- 10¾".
- Use with a wide variety of fruits and vegetables.
- Plastic body.
- Nonslip base.
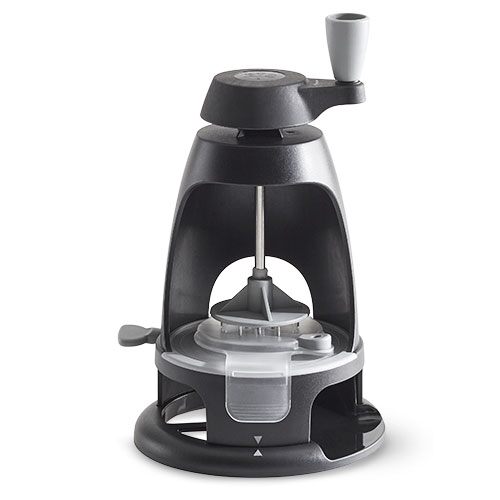
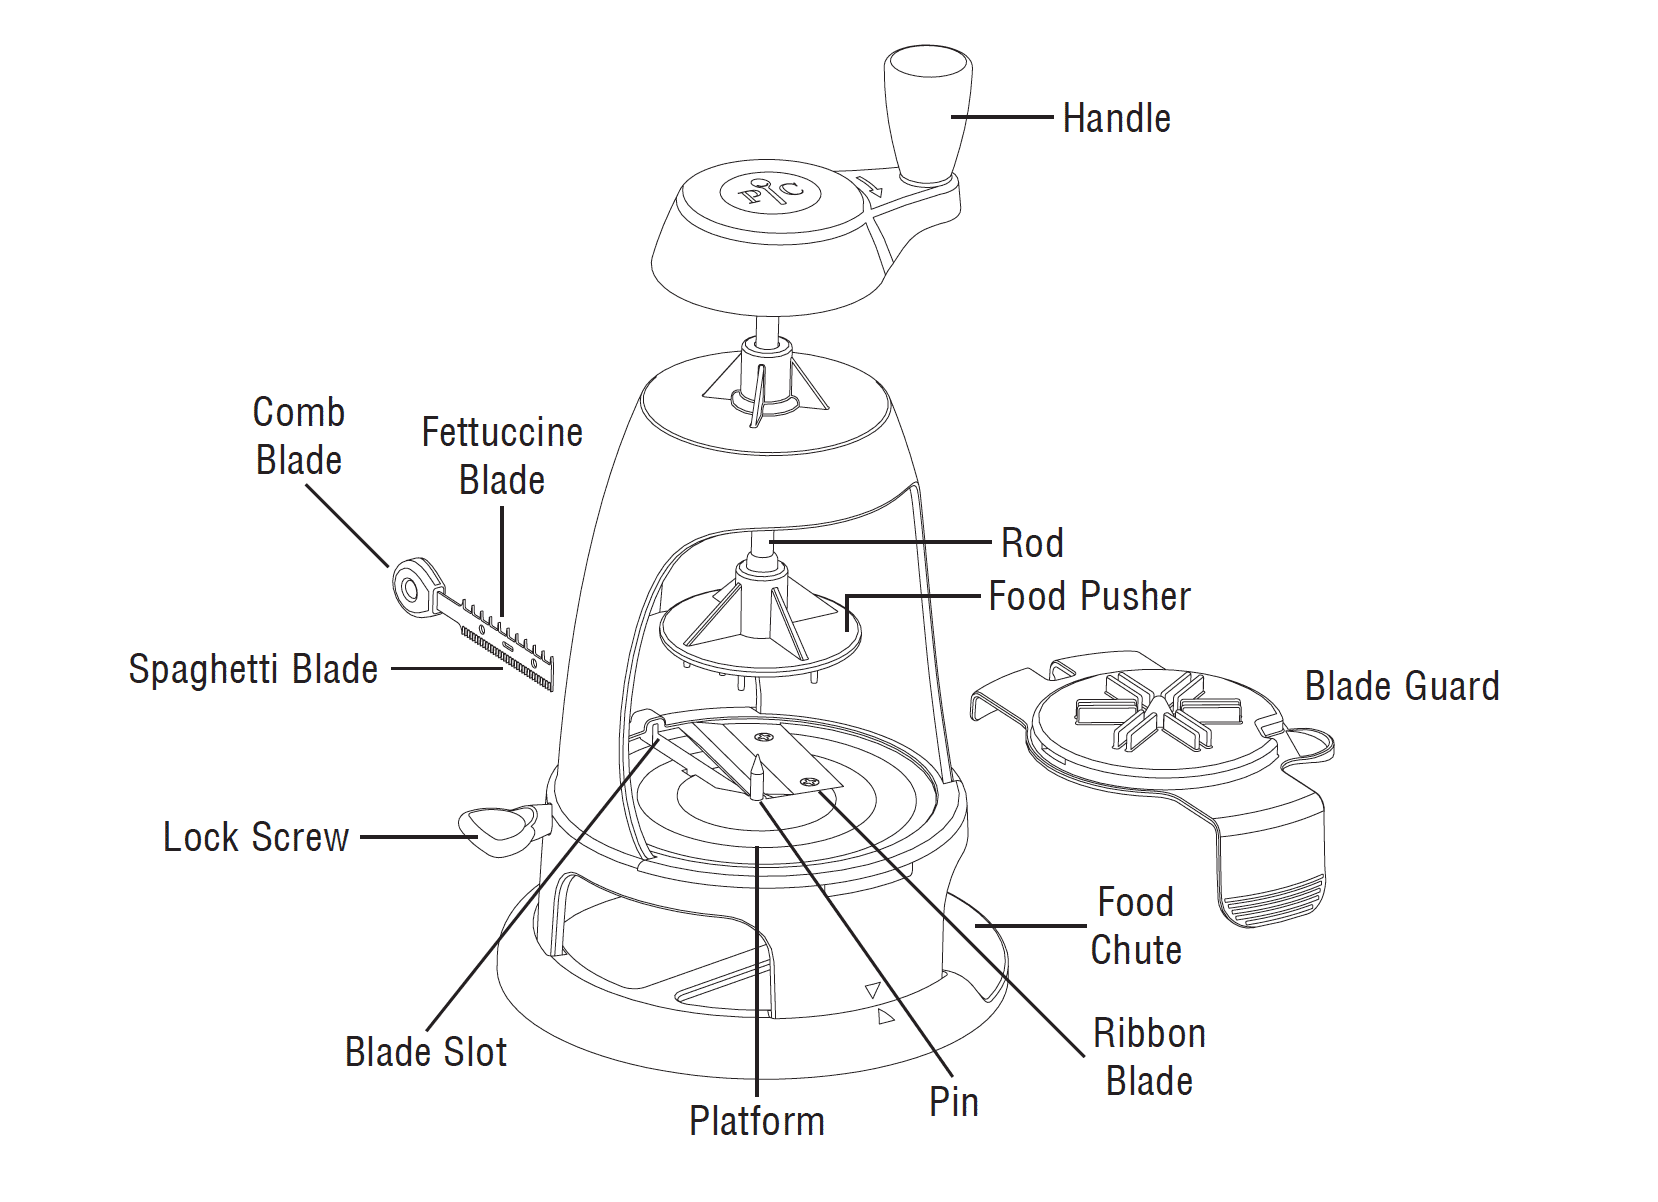
- Three blades for different noodles: a built-in ribbon blade, and interchangeable spaghetti and fettuccine blades.
- Blade guard for safe storage.
- Dishwasher-safe.
- Three-year guarantee.
-
Use & Care
Use & Care
Use & Care

CLEANING
- Wash before using for the first time; dishwasher-safe on the top rack only. Secure the comb in the utensil basket or over prong on top rack. Blade guard is hand wash only.
- To remove stuck-on food, use a small cleaning brush to remove food residue from the blades and platform.
ASSEMBLY (WITH FOOD CHUTE ALREADY ATTACHED)
Product will arrive partially disassembled. Visit pamperedchef.com (U.S.) or pamperedchef.ca (Canada) to see the video.
- Remove the small plastic sleeve from the tip of the rod and discard.
- With the blade guard in place on the platform, position the food pusher on top of the blade guard ribs.
- Insert the rod through the top hole of the body. While keeping the rod aligned with the opening of the food pusher, turn clockwise until the two pieces fit snug together.
- Pull up on the rod until it’s fully extended. It should stay in place on its own.
- Remove the blade guard.
- Choose the desired noodle type:
- To make ribbon noodles, use the fixed blade. No additional blade is required.
- To make spaghetti noodles, use the fine-toothed side of the comb—proceed to step 7.
- To make fettuccine noodles, use the wide-toothed side of the comb—proceed to step 7.
- Remove the comb from the top of the blade guard.
- Place the blade guard back on the platform and slide the comb into position through the slot on the back of the body. Tighten the gray lock screw.
Visit pamperedchef.com (U.S.) or pamperedchef.ca (Canada) for a free Veggie Spiralizer eBook.- Remove the blade guard. Place prepped food centrally on pin on platform. Guide rings on the platform will help with centering food.
- Food should be less than 4" (10 cm) in height and width. Works best with foods such as zucchini, cucumber, sweet potato, butternut squash, and apples. Always remove core or seeds prior to use.
- To spiralize, apply steady downward pressure while rotating the handle clockwise. At the end of spiralizing, a small amount of food will not be cut. Set it aside and use it to make another recipe, like soup or vegetable broth.
DISASSEMBLY
Visit pamperedchef.com (U.S.) or pamperedchef.ca (Canada) to see the video.
- Loosen the lock screw and remove the comb. Use a small brush to remove food debris.
- Place the blade guard on the platform over the pin and lower the rod so the pusher pins rest between the ribs.
- Rotate the handle counterclockwise to remove the food pusher from the rod.
- Remove the food pusher, blade guard, rod, and handle and wash pieces separately as directed.
GUARANTEE
- Three-year guarantee for noncommercial use. Refer to website or sales receipt for details.
Made in China
GuaranteeUse & Care


CLEANING
- Wash before using for the first time; dishwasher-safe on the top rack only. Secure the comb in the utensil basket or over prong on top rack. Blade guard is hand wash only.
- To remove stuck-on food, use a small cleaning brush to remove food residue from the blades and platform.
ASSEMBLY (WITH FOOD CHUTE ALREADY ATTACHED)
Product will arrive partially disassembled. Visit pamperedchef.com (U.S.) or pamperedchef.ca (Canada) to see the video.
- Remove the small plastic sleeve from the tip of the rod and discard.
- With the blade guard in place on the platform, position the food pusher on top of the blade guard ribs.
- Insert the rod through the top hole of the body. While keeping the rod aligned with the opening of the food pusher, turn clockwise until the two pieces fit snug together.
- Pull up on the rod until it’s fully extended. It should stay in place on its own.
- Remove the blade guard.
- Choose the desired noodle type:
- To make ribbon noodles, use the fixed blade. No additional blade is required.
- To make spaghetti noodles, use the fine-toothed side of the comb—proceed to step 7.
- To make fettuccine noodles, use the wide-toothed side of the comb—proceed to step 7.
- Remove the comb from the top of the blade guard.
- Place the blade guard back on the platform and slide the comb into position through the slot on the back of the body. Tighten the gray lock screw.
Visit pamperedchef.com (U.S.) or pamperedchef.ca (Canada) for a free Veggie Spiralizer eBook.- Remove the blade guard. Place prepped food centrally on pin on platform. Guide rings on the platform will help with centering food.
- Food should be less than 4" (10 cm) in height and width. Works best with foods such as zucchini, cucumber, sweet potato, butternut squash, and apples. Always remove core or seeds prior to use.
- To spiralize, apply steady downward pressure while rotating the handle clockwise. At the end of spiralizing, a small amount of food will not be cut. Set it aside and use it to make another recipe, like soup or vegetable broth.
DISASSEMBLY
Visit pamperedchef.com (U.S.) or pamperedchef.ca (Canada) to see the video.
- Loosen the lock screw and remove the comb. Use a small brush to remove food debris.
- Place the blade guard on the platform over the pin and lower the rod so the pusher pins rest between the ribs.
- Rotate the handle counterclockwise to remove the food pusher from the rod.
- Remove the food pusher, blade guard, rod, and handle and wash pieces separately as directed.
GUARANTEE
- Three-year guarantee for noncommercial use. Refer to website or sales receipt for details.
Made in China
Guarantee


 Canada (en)
 Germany (de)
 Austria (de)